Titanium vs Steel Choice
Titanium vs Steel: Whats the Better Choice? In the manufacturing world and the machining industry, titanium and steel are the top choices when it comes

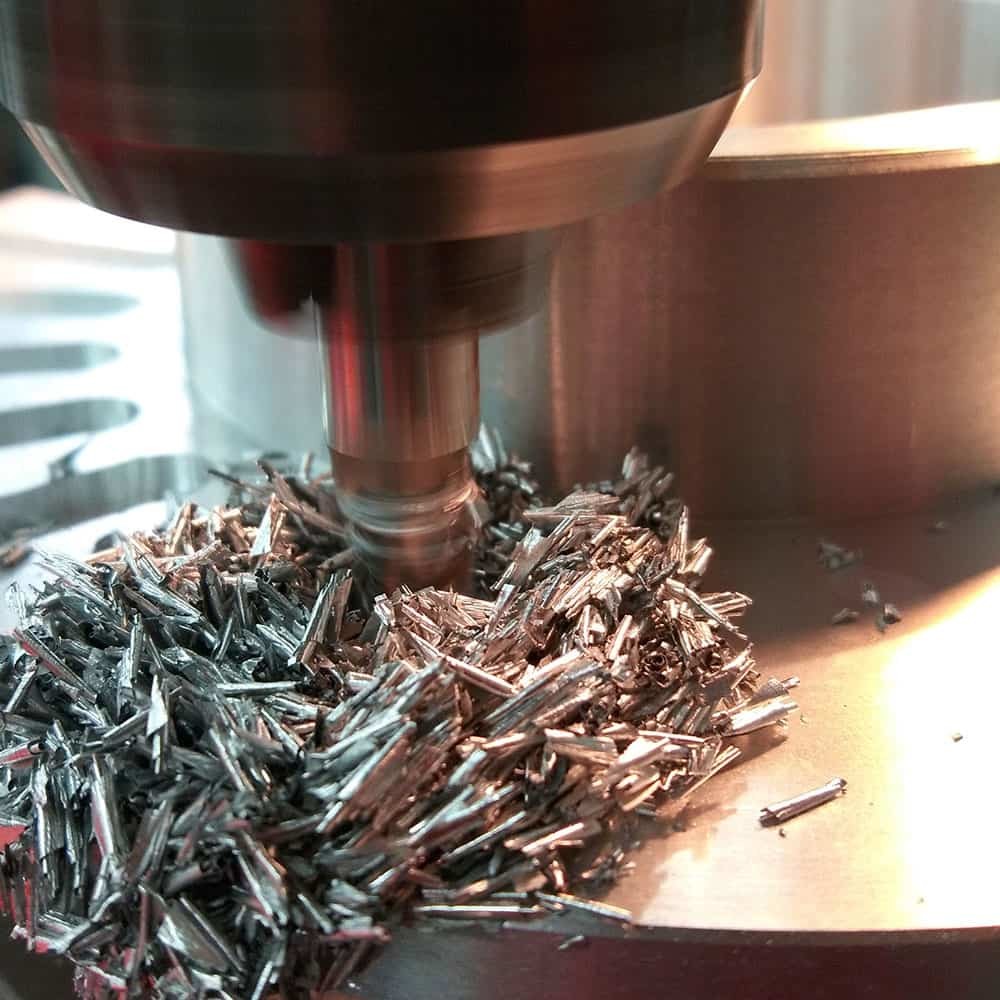
Top Challenges to Consider When Machining Titanium
Top Challenges to Consider when Machining Titanium Titanium’s high strength, high corrosion resistance, low weight, and other distinctive characteristics make it a material that is
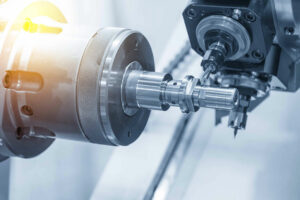
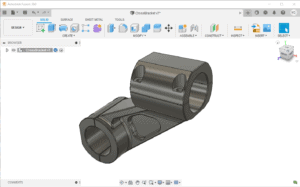
What is Turning CNC Turning Milling for Custom Machining
What is Turning? CNC Turning & Milling for Custom Machining CNC machining encompasses several processes, the outcomes of which can include tools, parts, or components